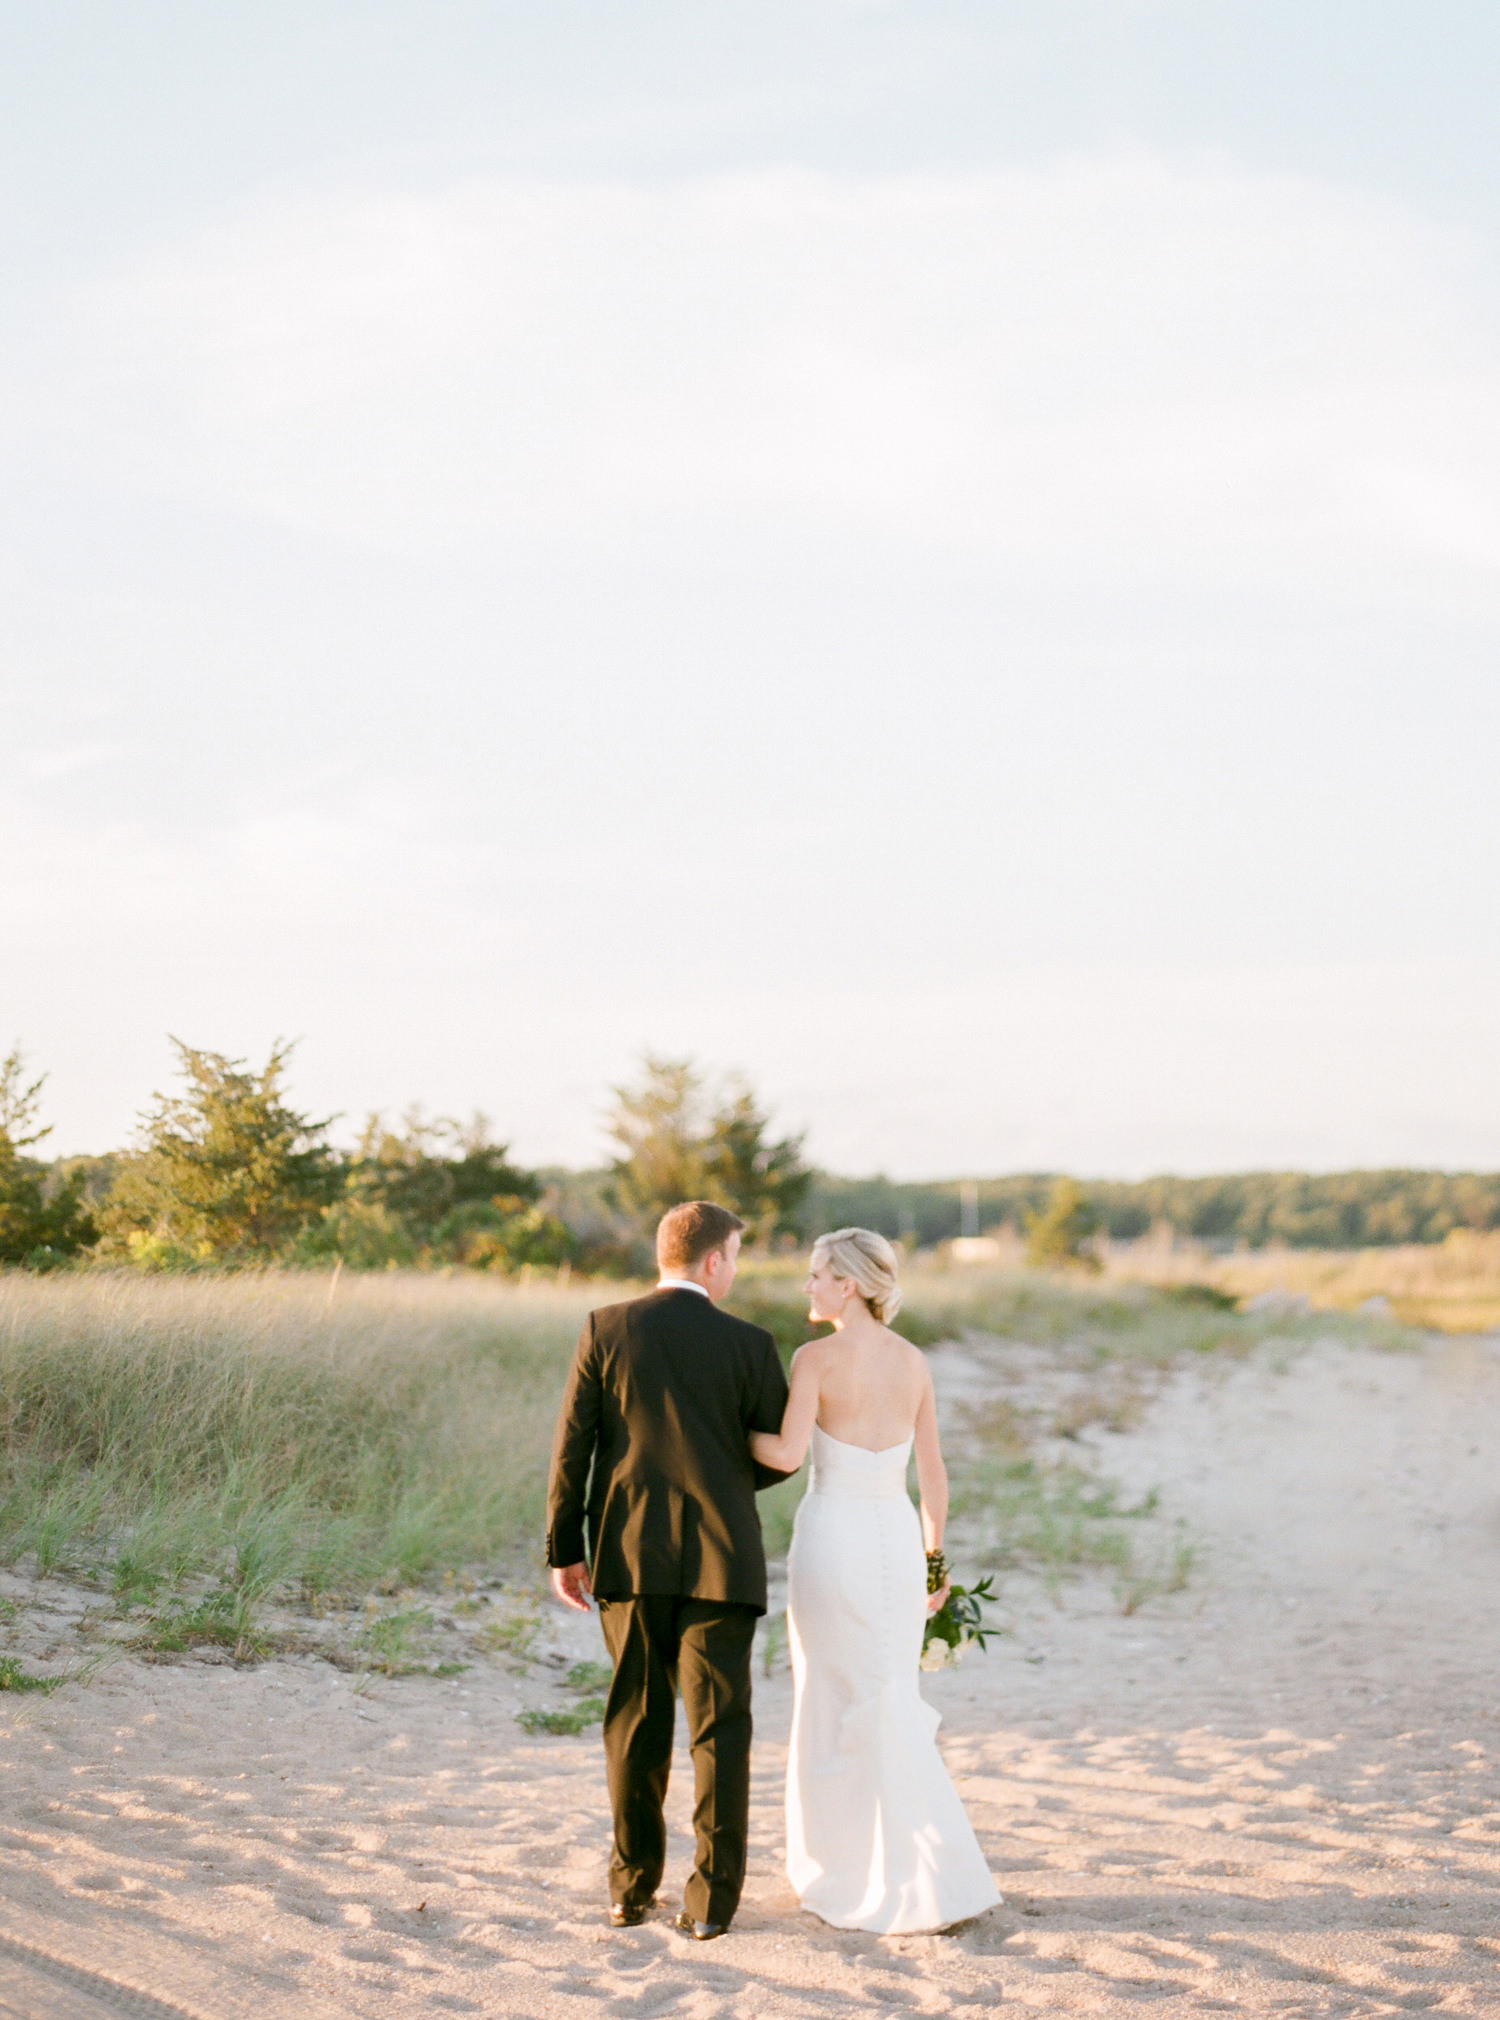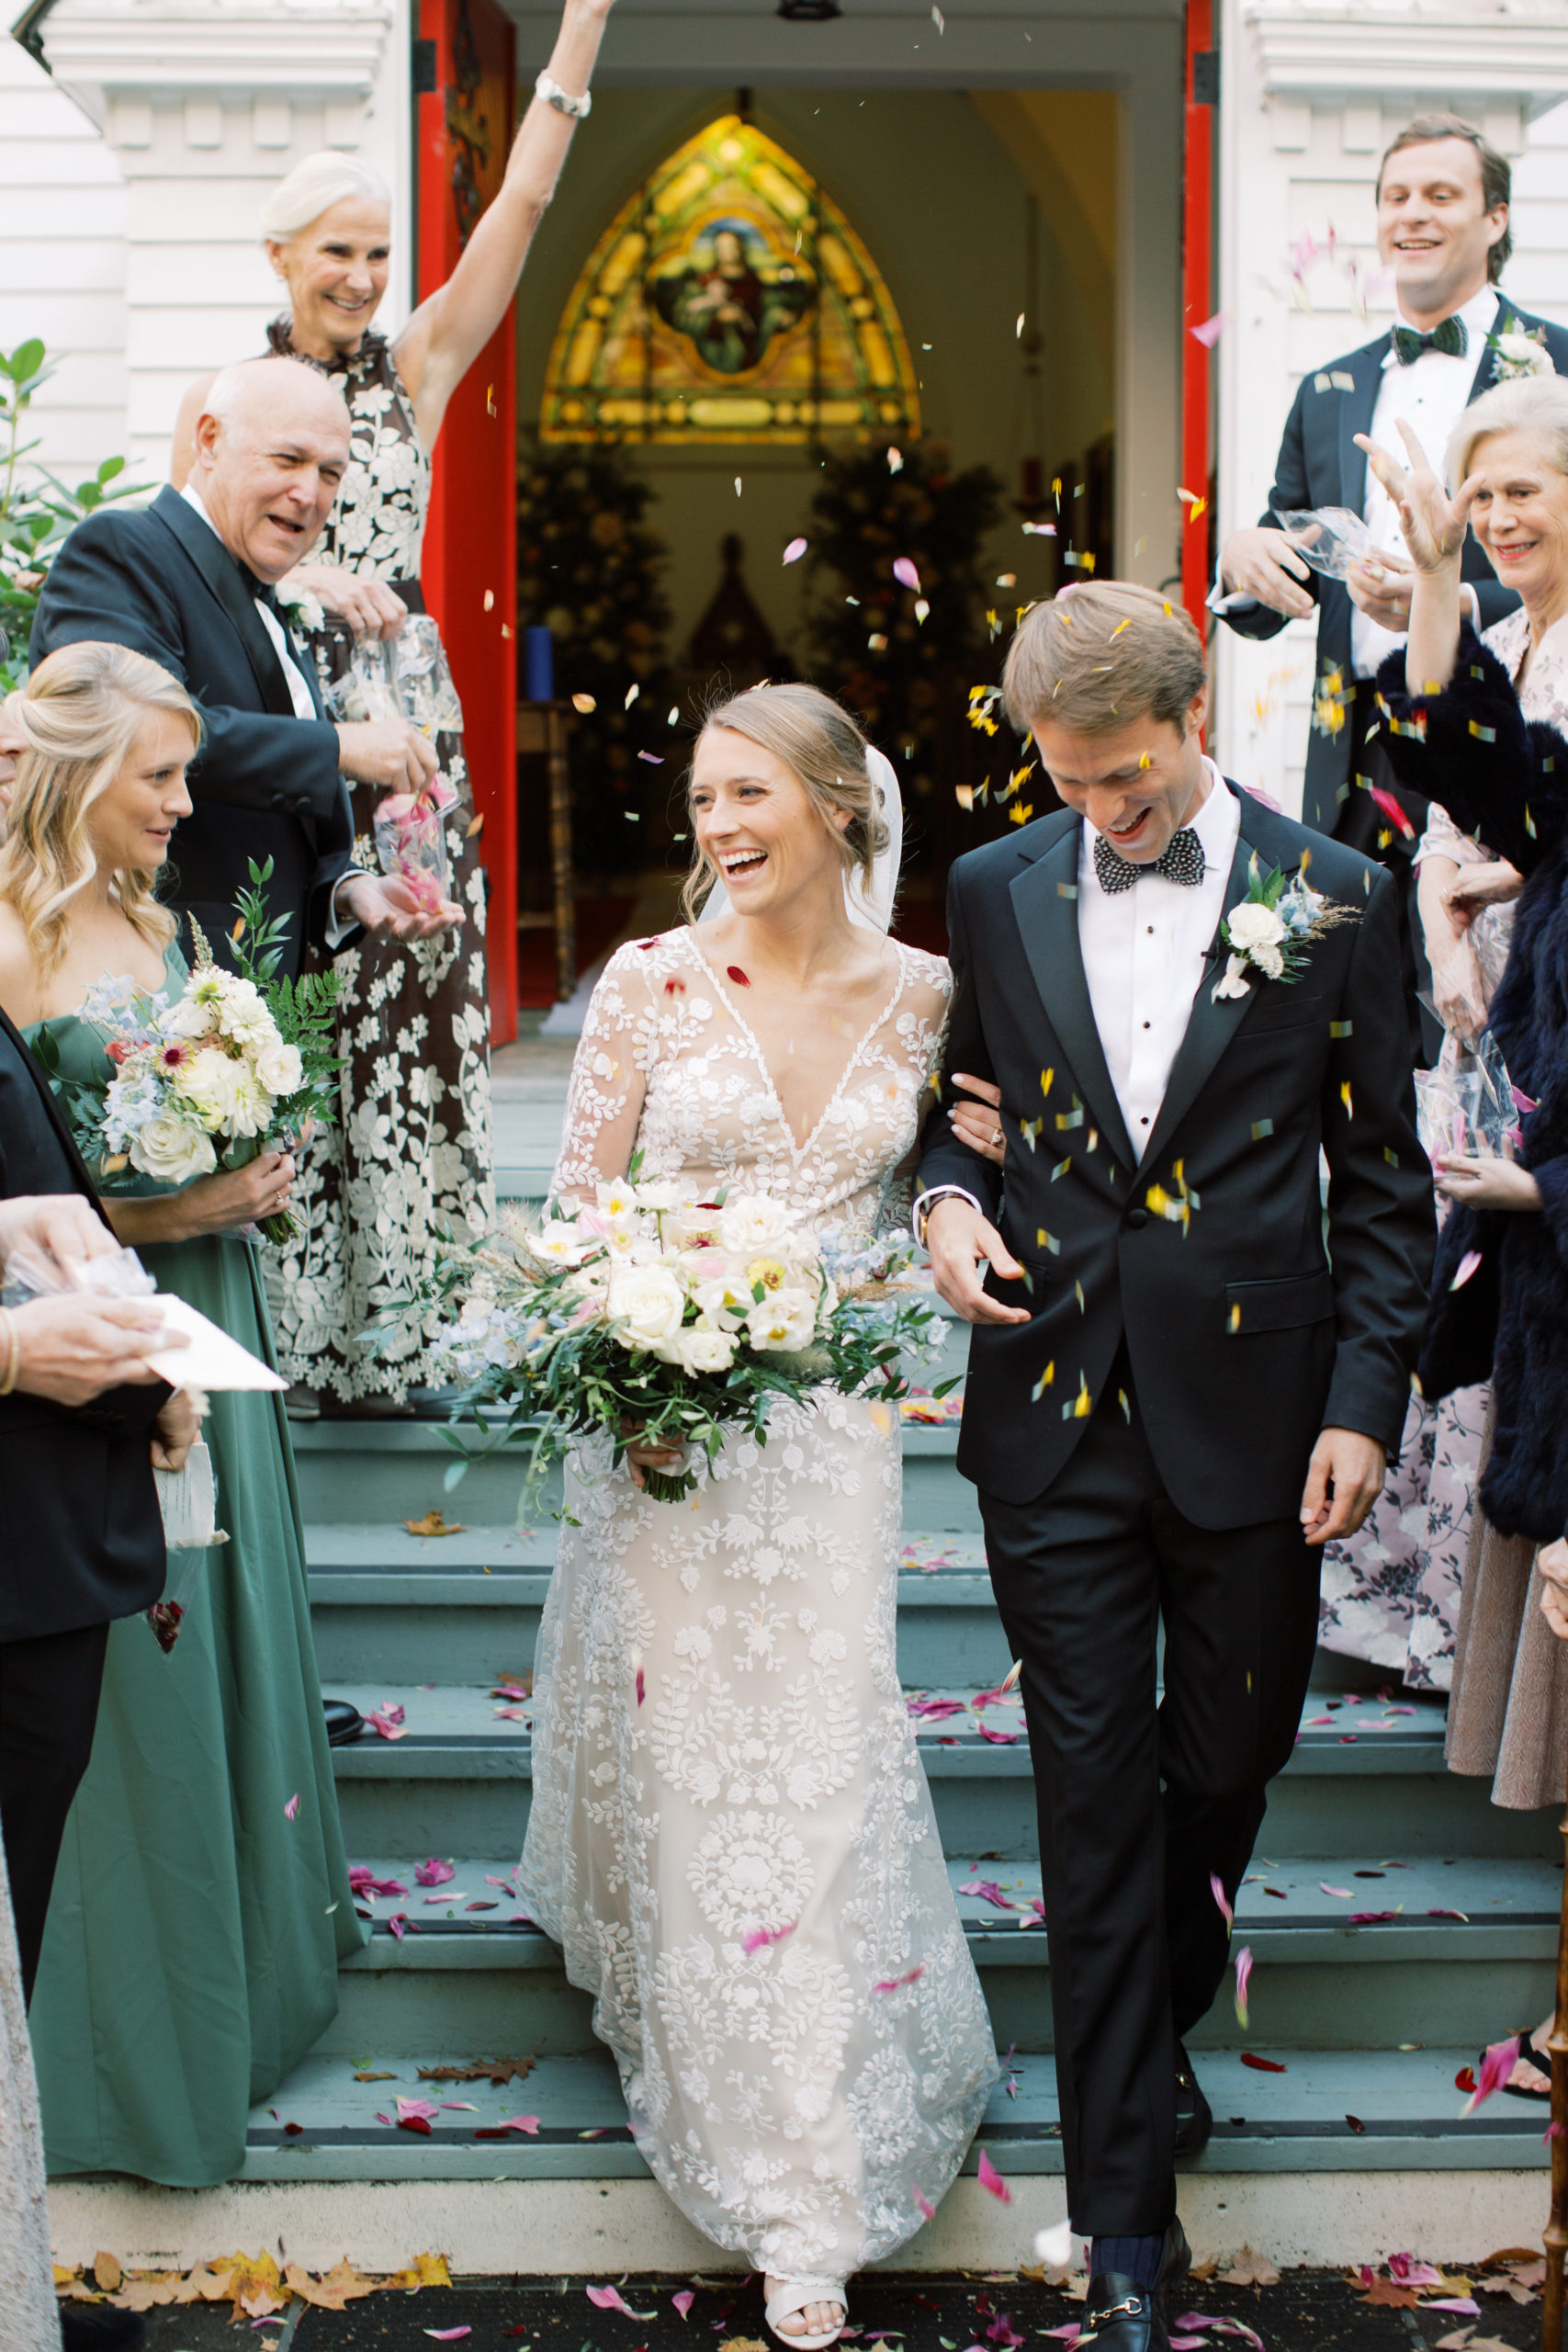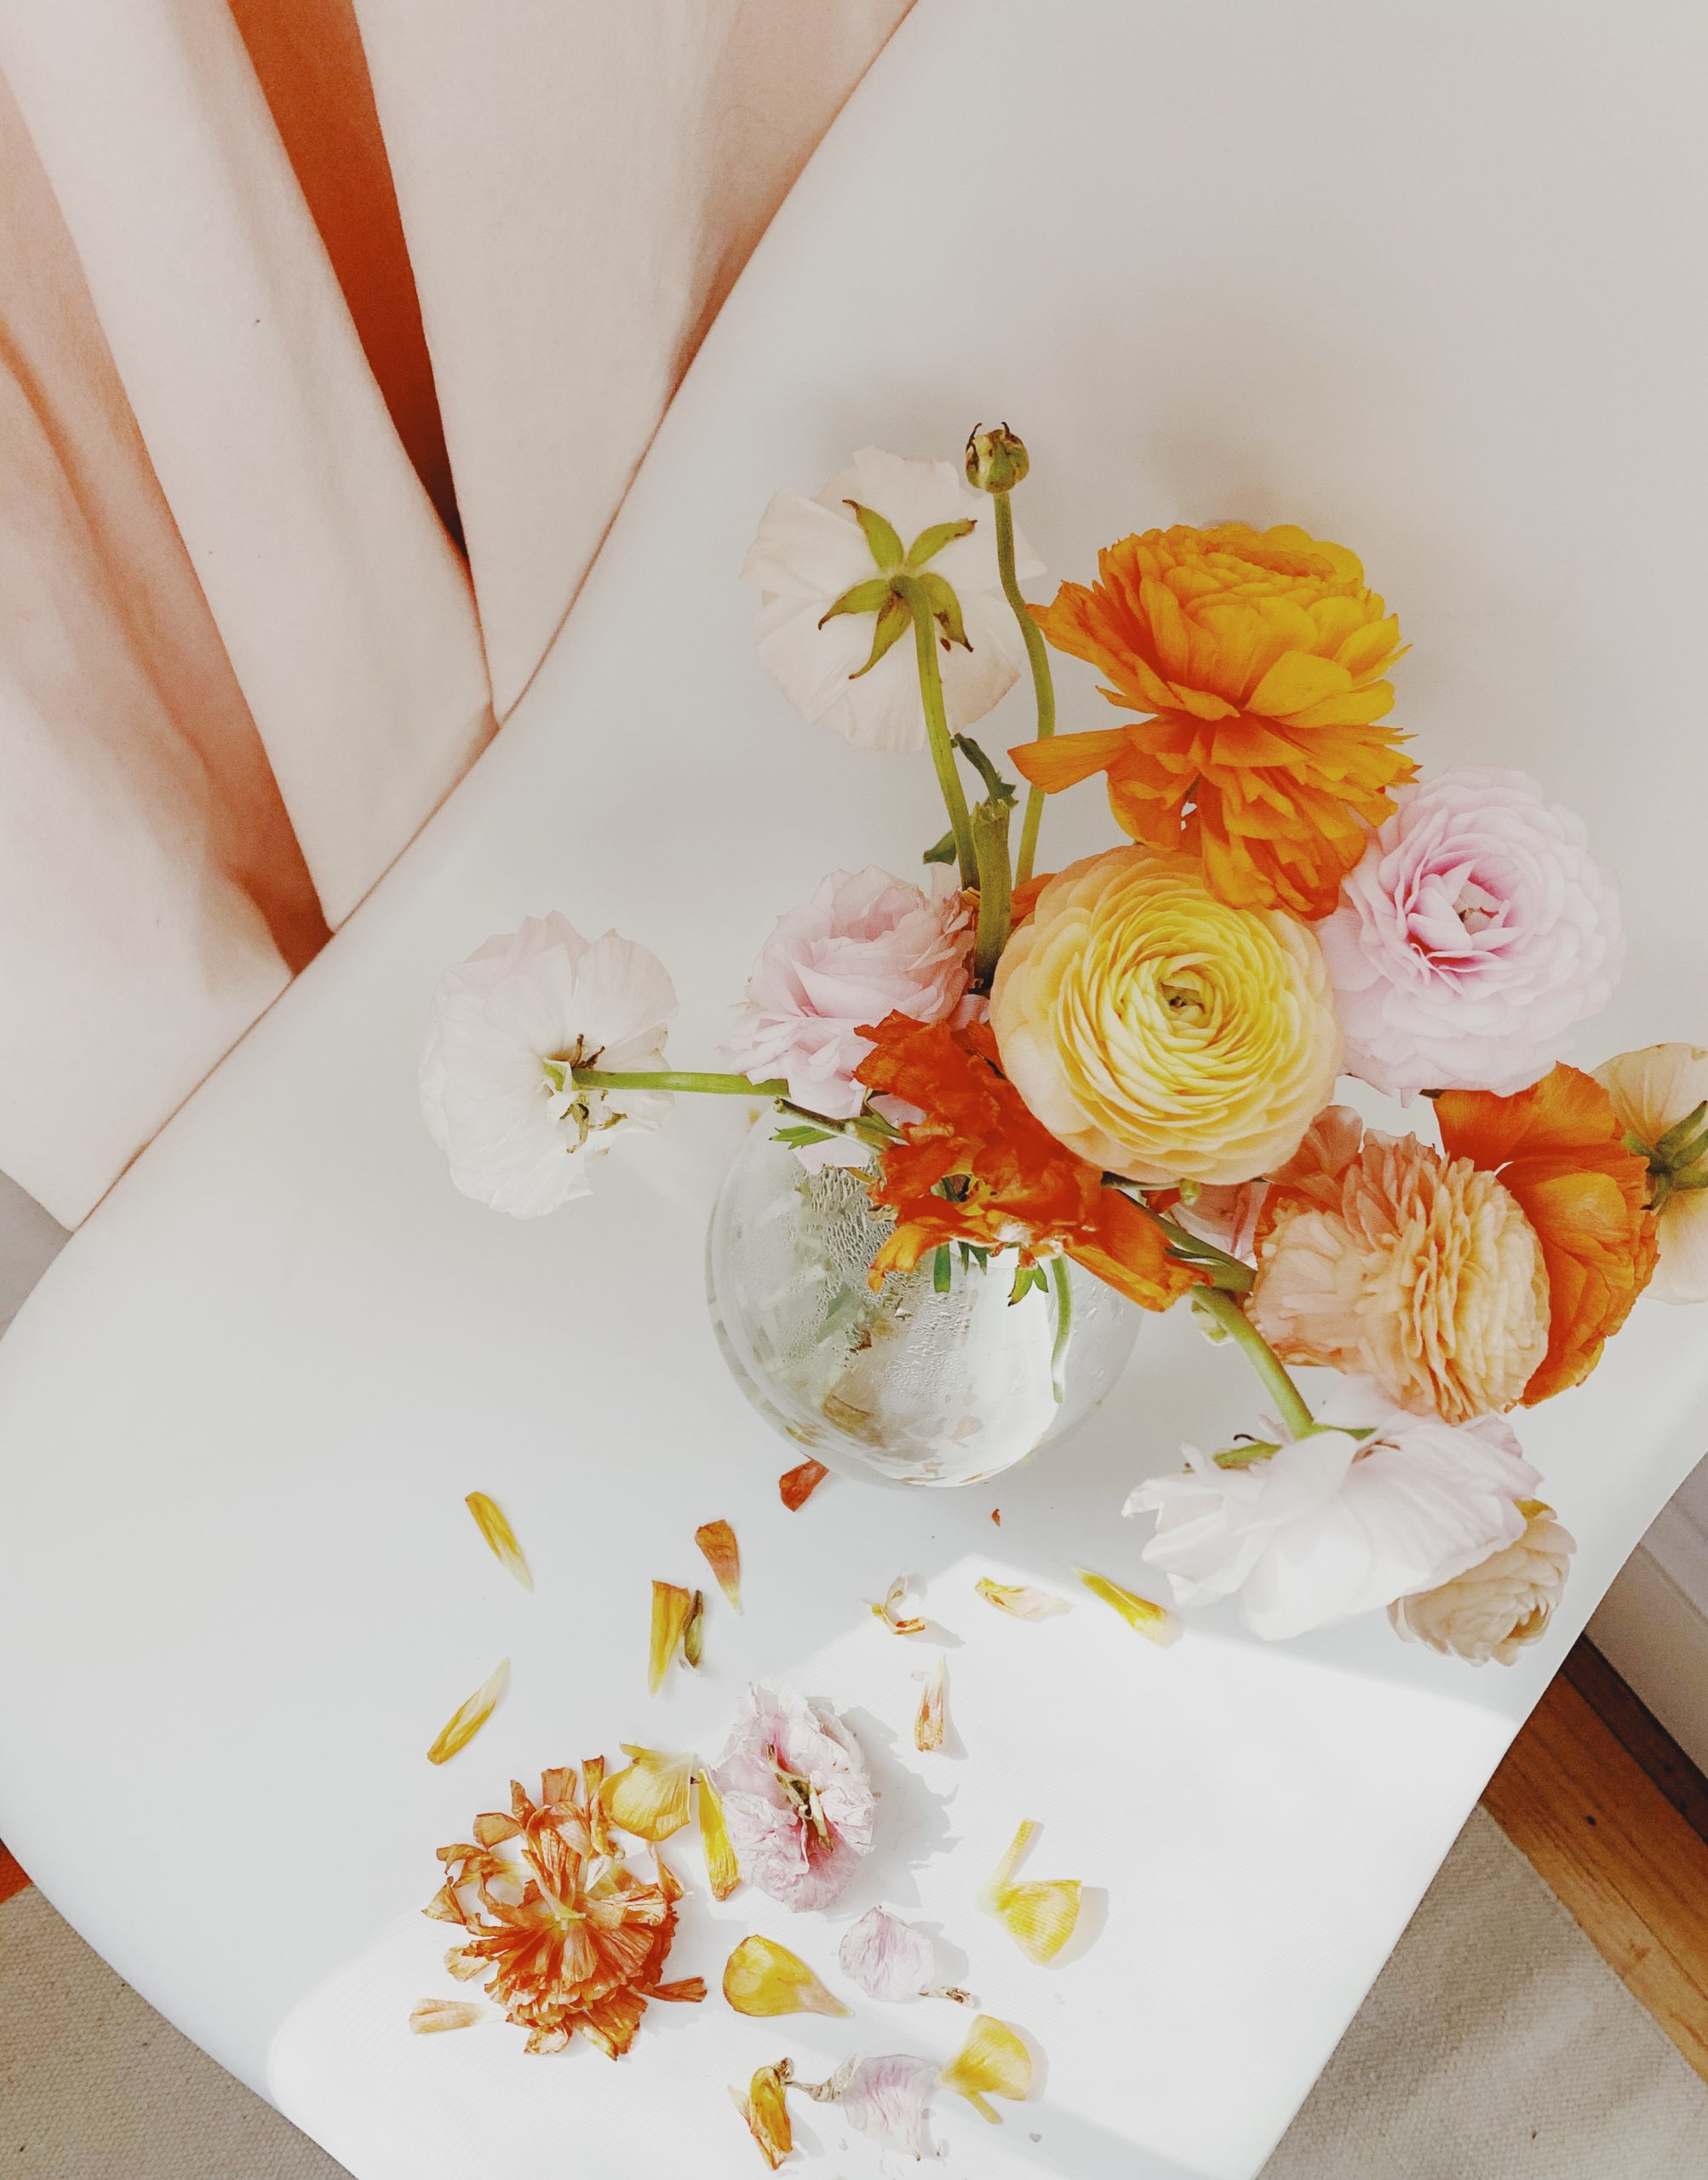

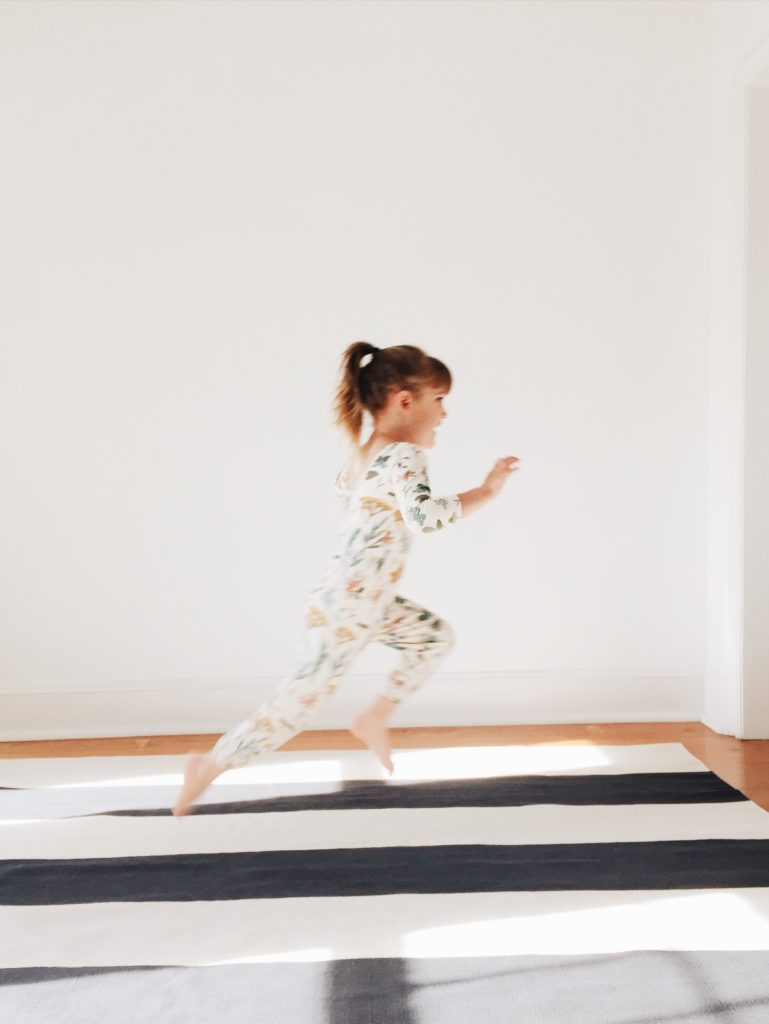
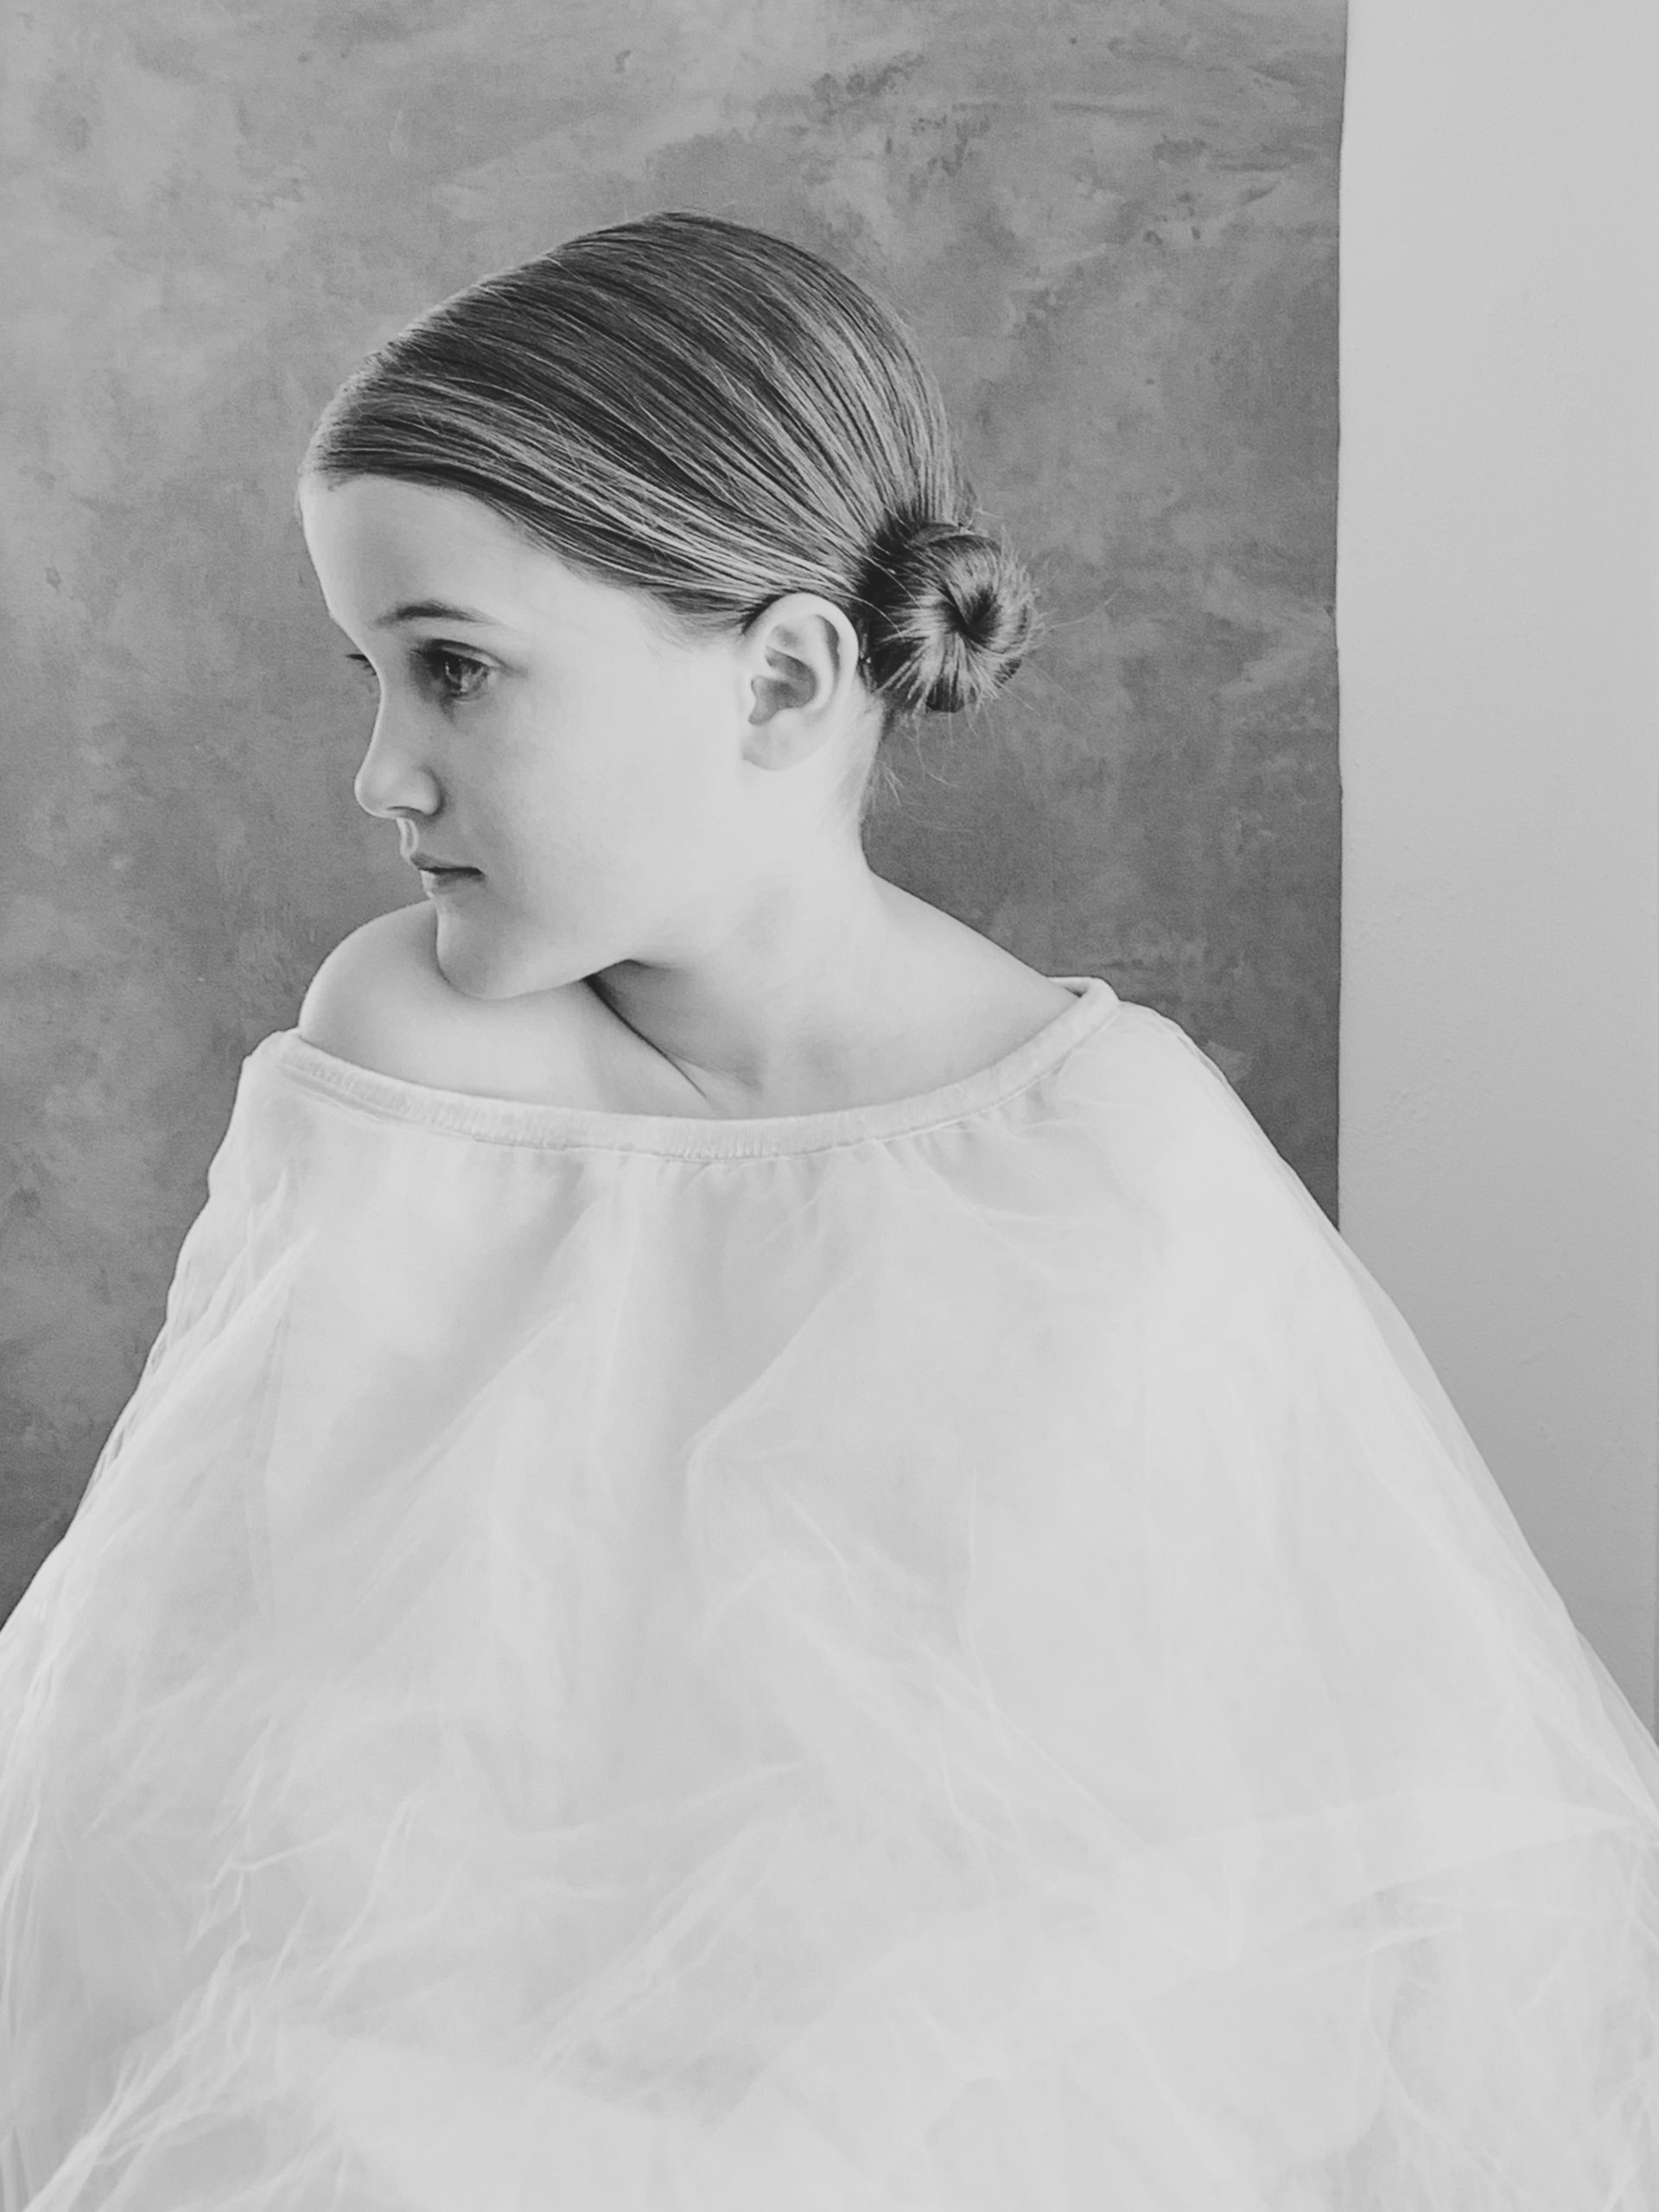
My daily practice of taking pictures often happens on my phone. Iphone photography is a simple form of creating so let’s dive in to what you can achieve. Whether you have an iphone or not, I hope this helps you use the camera most available to you. For help photographing your kids at home visit this post. To see the steps I took to set up a self portrait shoot go here. All of the images in this post were shot on my iphone.
Understanding your IPHONE
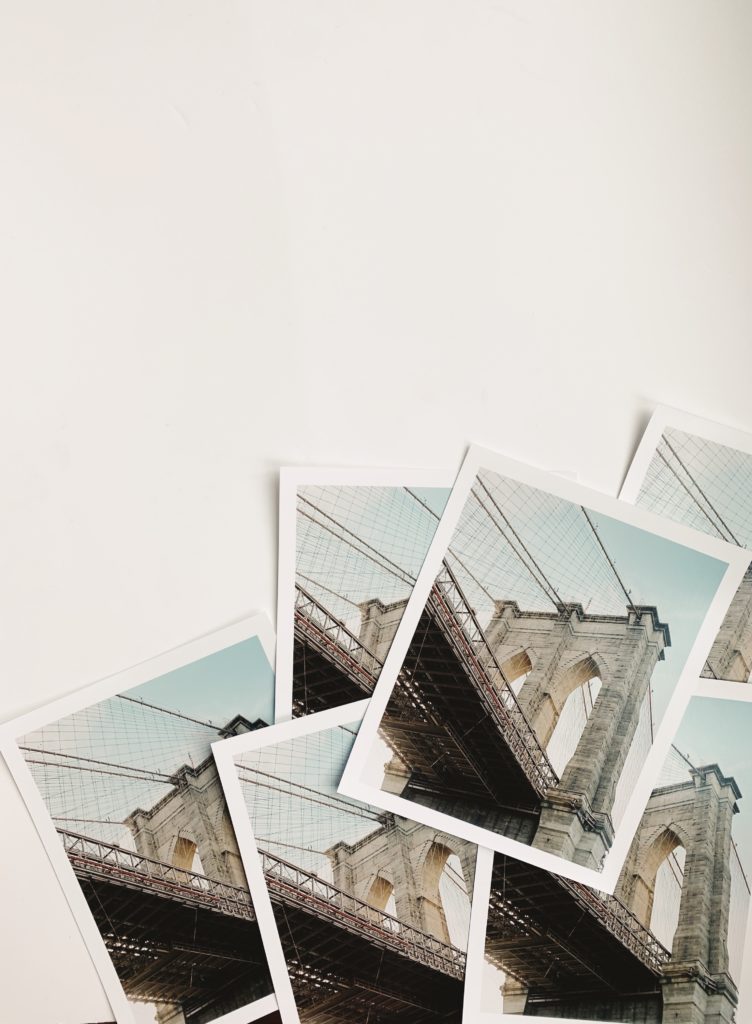
Open up your camera and realize that it wants to do everything for you. Tap an area to adjust for light, or slide up and down to adjust to your liking. You don’t have to choose aperture, shutter speed or iso like you would on a “real camera.” If you click command+i on a mac it will bring up an info panel where you can see specifics on any image, like below!

3 steps to improve your iphone photography
- use natural light
- get a tripod
- download Lightroom for editing (+get a free preset from me by signing up here)
Other photographers may disagree, but I find capturing images in any form to help me work through some of the typical problems in photography. It is so easy to do all or one of the above things on your phone, so it’s time to get started.
Find me on Instagram to follow my work, or sign up to get access to more content and a free LR preset.


Take me to Youtube where I can see your videos and learn more.